Getting started➧
Overview
This page provides an overview of the WildcoreDMS onboarding process, from installation to running it.
Note
At the moment, the only way to install the WildcoreDMS is through our custom wca-tool, using Docker.
Note
Prior to installation, ensure that your system meets the System requirements.
Registration➧
Info
This section will take you through the registration process. Feel free to skip it if you have already set up an account.
-
Go to the Registration page.

-
Fill out the Name, Company name, Email address and Password fields, accept the Terms and Conditions and press the Registration button.

-
Confirm your registration.
Please verify your registration by checking the email inbox you provided. In a few minutes, an email from
[email protected]should arrive.Tip
If you experience delays, kindly check your Spam folder.
Once received, please press the Confirm Email button inside the email.

-
Log in with your email and password.

Creating an Agent➧
-
Log in into your personal Cabinet.

-
Activate your Trial Agent.
Press the Activate TRIAL button in the Active agents panel, read the pop-up carefully and agree to it.

Your first trial Agent is now active.

Installation➧
-
Install the latest version of the
wca-tool. -
Find your Agent key in the Agents tab in your Cabinet.

-
Run the following command to install the WildcoreDMS.
Note
The installation process may take some time (usually about 10-15 minutes)
If the installation was successful, the following message will be displayed:
    WildcoreDMS (version x.xx.x) success installed!
    Now, you can use wildcoreDMS by URL: http://<service ip|domain>:8088
    Default login/password - admin/admin

    You can change some parameters in /opt/wildcore-dms/.env file, as listen ports for example
After installation, you can navigate to the Web Panel.
Tip
The panel is available at http://localhost:8088 by default.
You will be greeted by the WildcoreDMS login screen.

Tip
The default login credentials are:
- Username:
admin - Password:
admin
Frequent installation problems➧
docker-compose-plugin not installed➧
Usually the error looks like this:
Issue
docker-compose must be installed on your system specifically as a plugin for Docker, rather than as a standalone utility.
Solution:
- Install the
docker-compose-pluginpackage for your operating system (refer to the installation instructions in the official Docker documentation. - Verify its functionality by running the command
docker compose version, which should return the plugin version. - Proceed with the WildcoreDMS installation by executing
sudo wca-tool update.
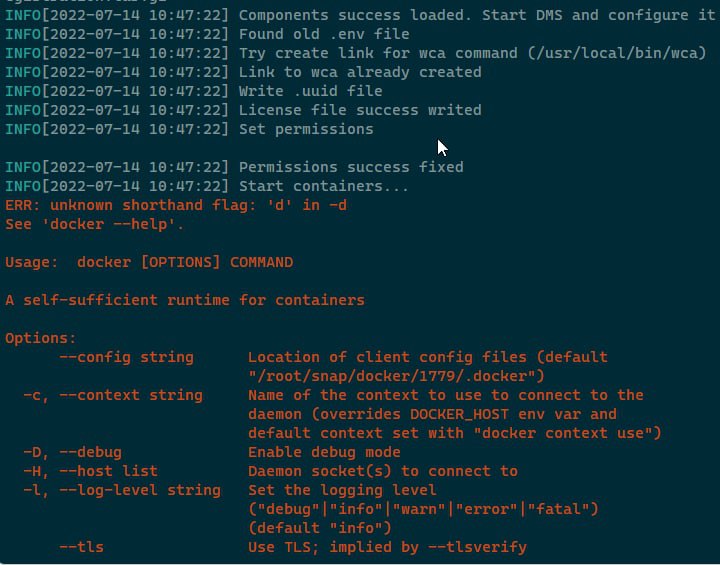
Network related errors➧
Network errors may manifest as Connection refused,Connection timeout, or Forbidden entries in the logs.
Solution:
- Examine the logs to pinpoint the problematic connection attempt.
- Confirm the existence of the target address on the server (for HTTP, try the same
curl). - If the response is valid, investigate your Docker setup.
Refer to the official Docker documentation for detailed instructions. Ensure compatibility with your OS version as per the documentation or that no older versions are present.
Once the issue is resolved, you can proceed by executing the wca-tool update command.
Web panel malfunctions or wca command errors➧
Solution:
Utilize the docker ps -a command to see the currently running containers.
Inspect the logs with docker logs ... for containers showing errors.